So I was gonna be doing my usual spark plug replacement for my Toyota Yaris (Toyota Belta in Pakistan, 1300CC) and I thought that I'd share some knowledge.
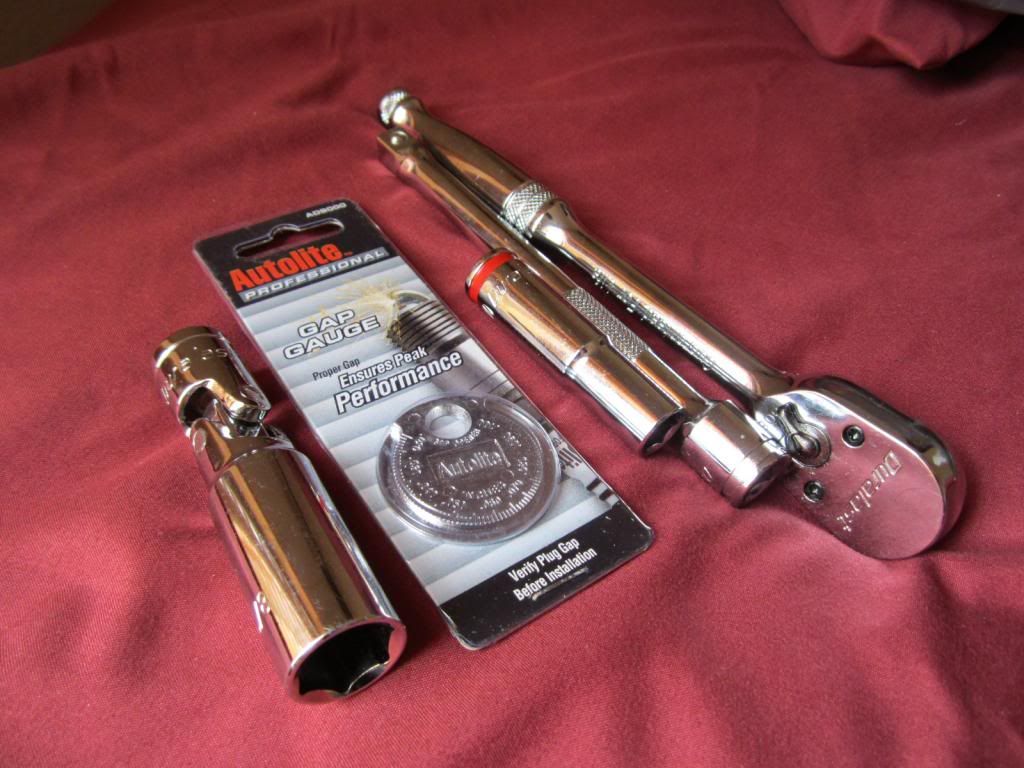
First of all the tools. What you see is a universal 3/8" wrench, spark plug socket, spark plug gapping tool, one 3/8" extender bar and one 10mm socket bar.
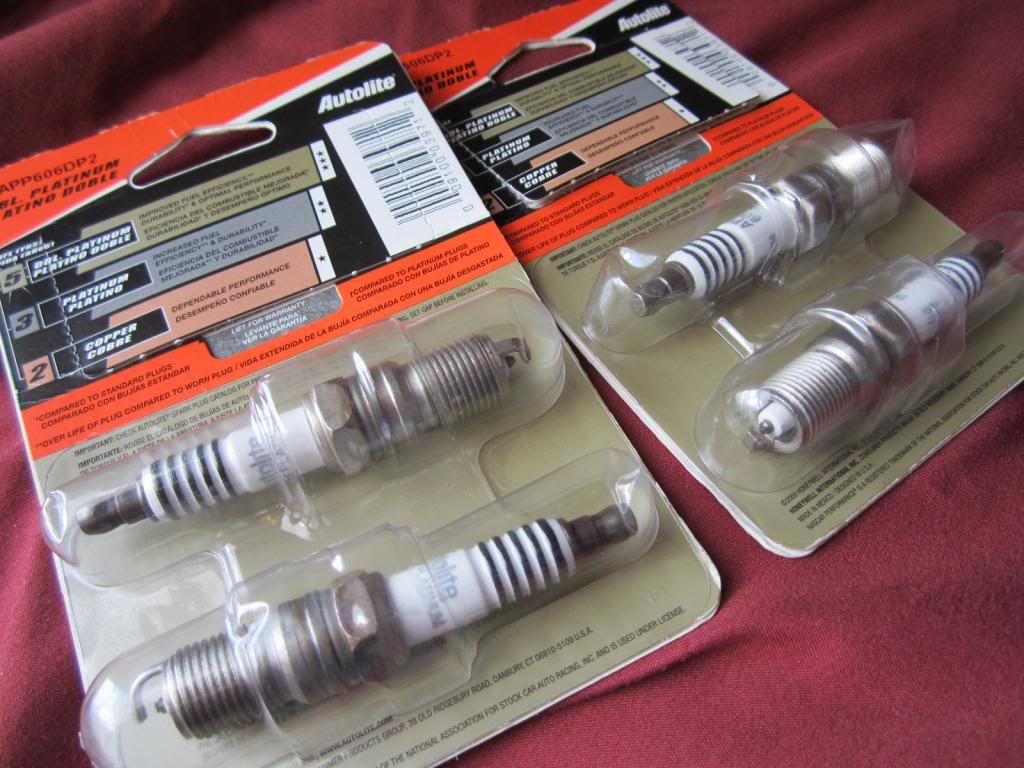
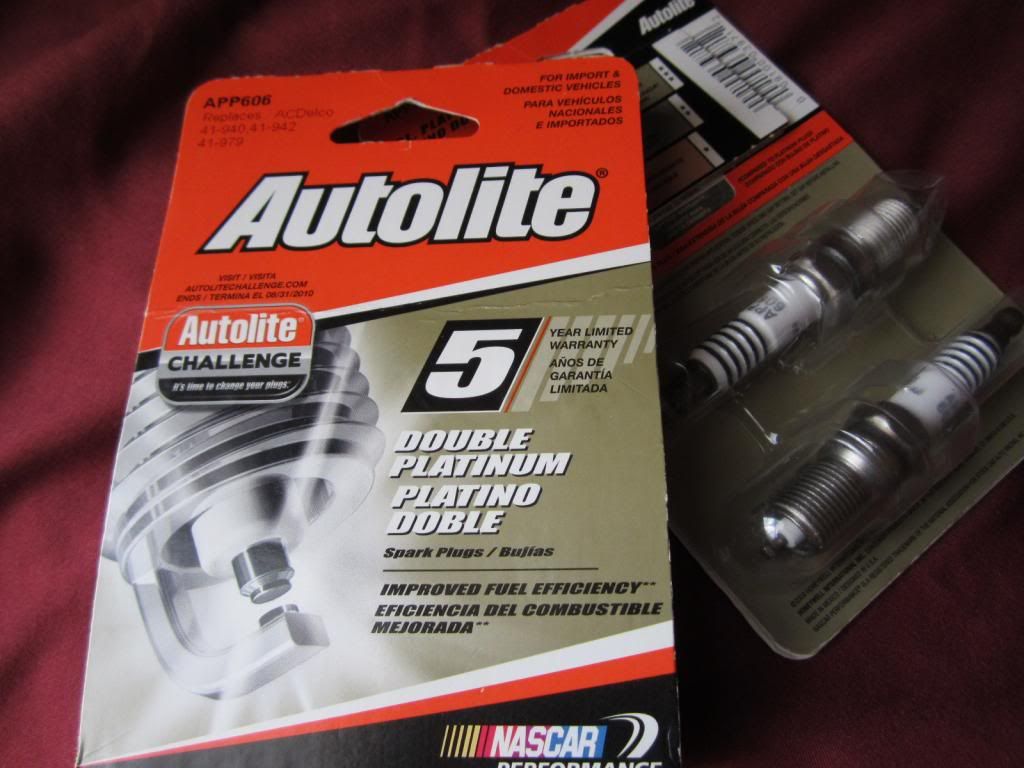
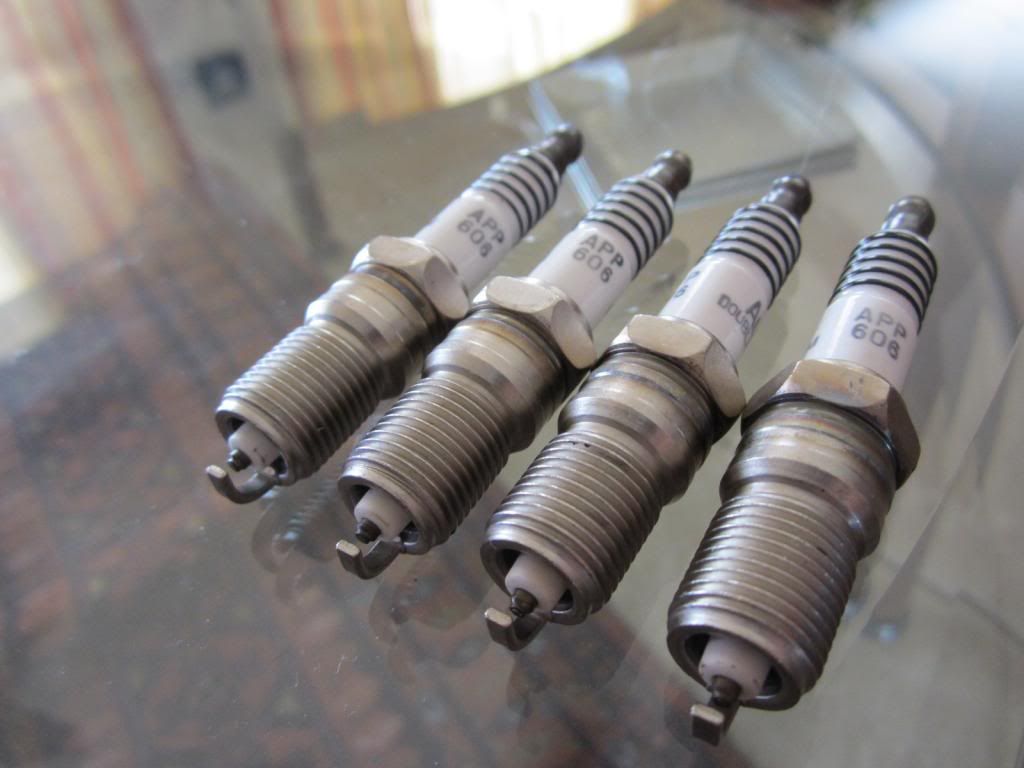
The plugs that I'll be using are the Double Platinum of Autolite:
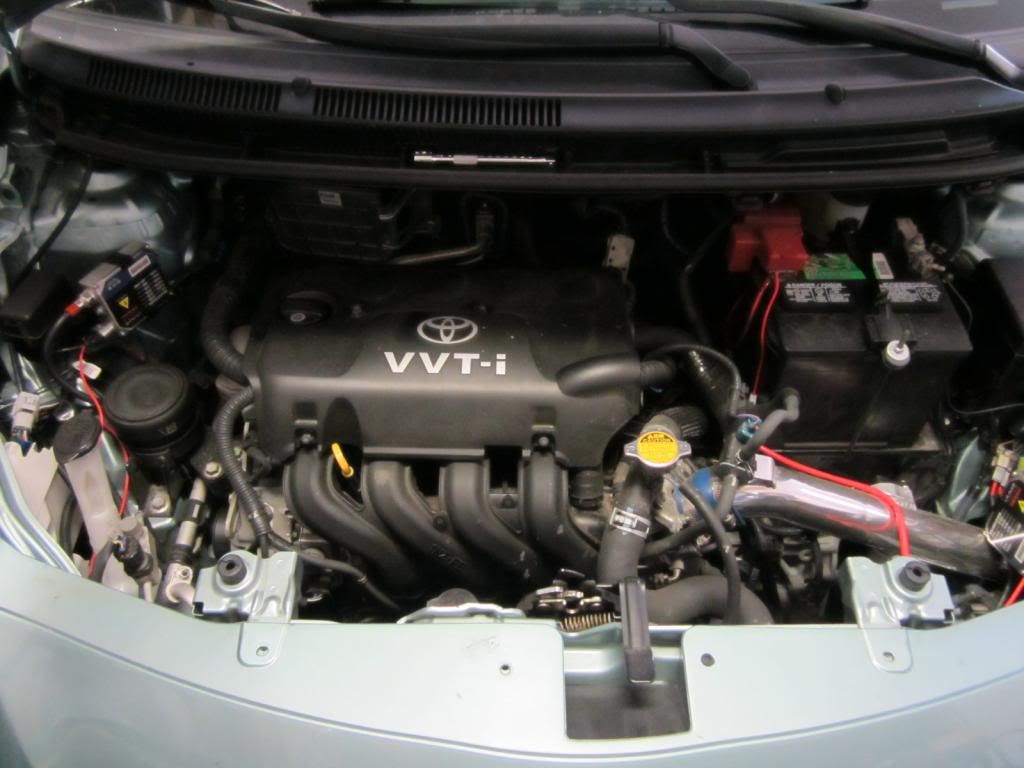
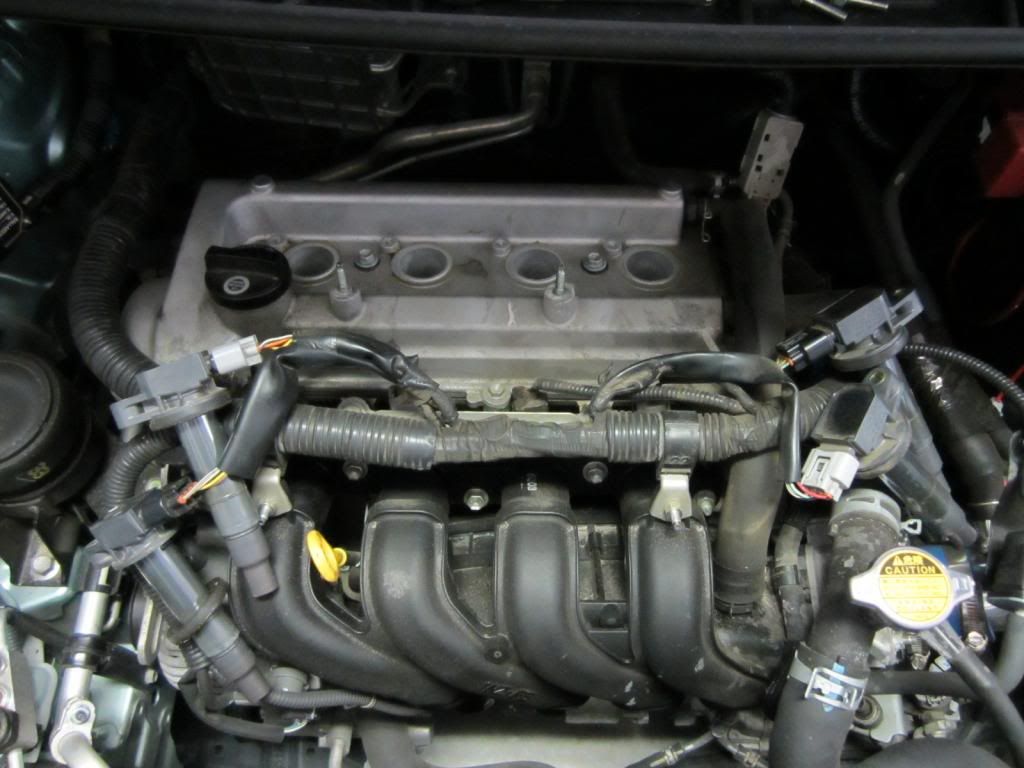
And so lets get started, Here's the engine Bay:
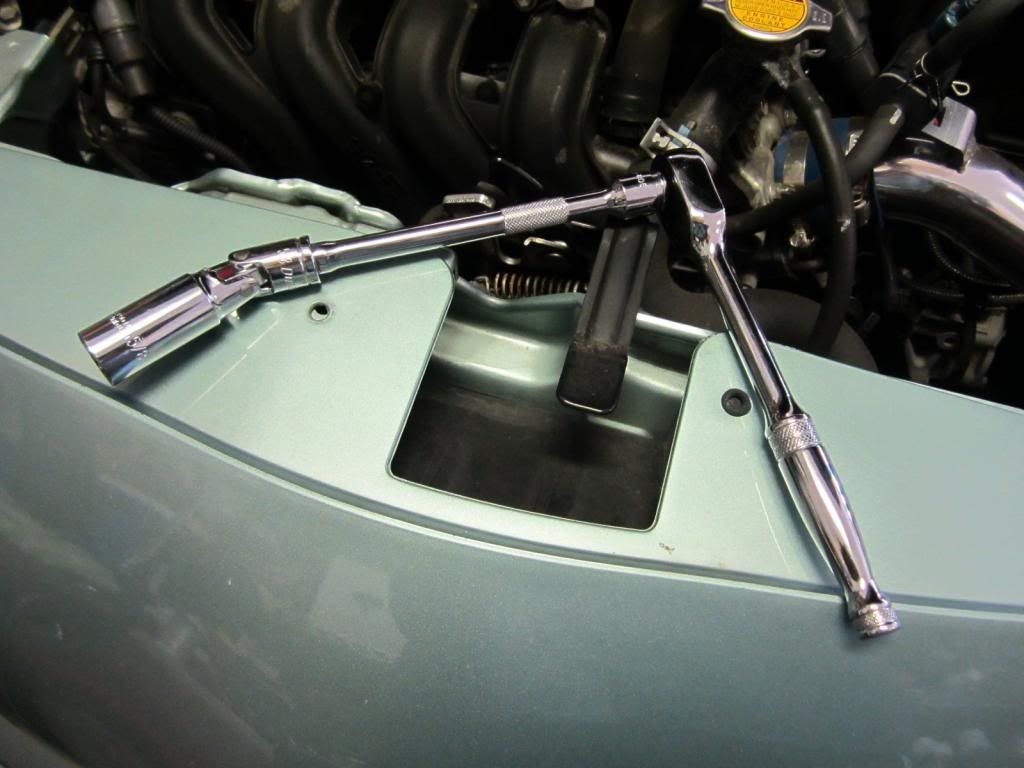
First I removed the top that has four nuts using the wrench with the smaller 10mm socket bar:

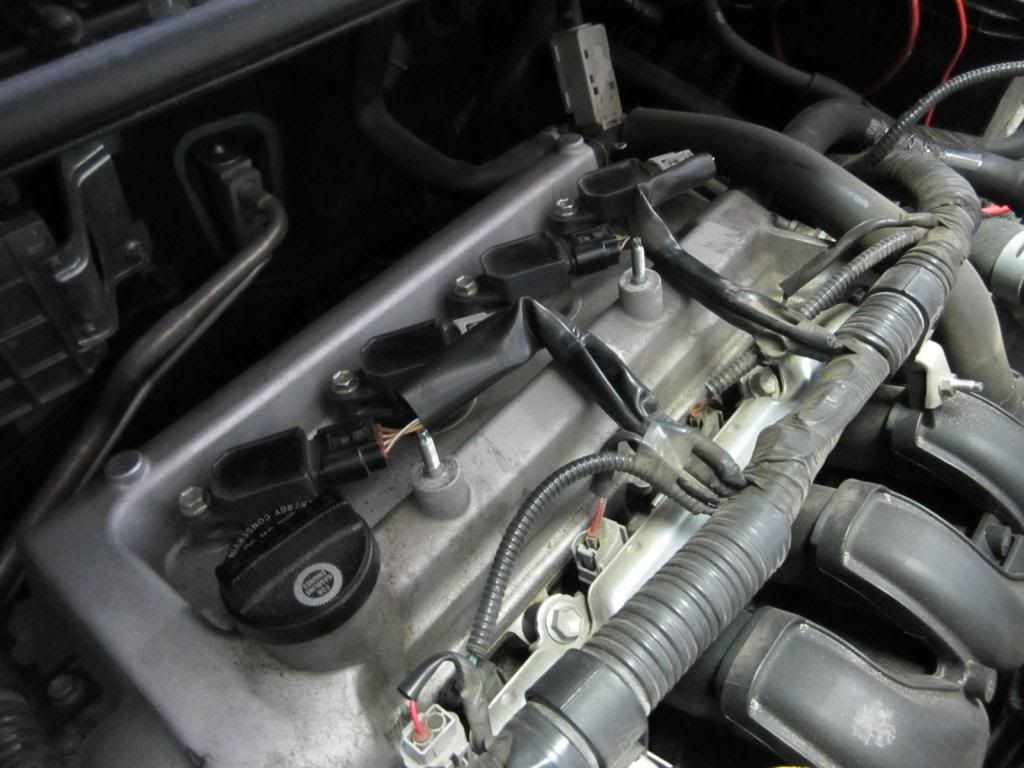
By taking the top off, we can see every specific ignition coil (the black ones) going to each plug:

So I used the same configuration of the socket wrench of removing the ignition coils nuts that I used to take the top off. After taking it off all the silver nuts, I removed each coil with caution and placed them on a side:
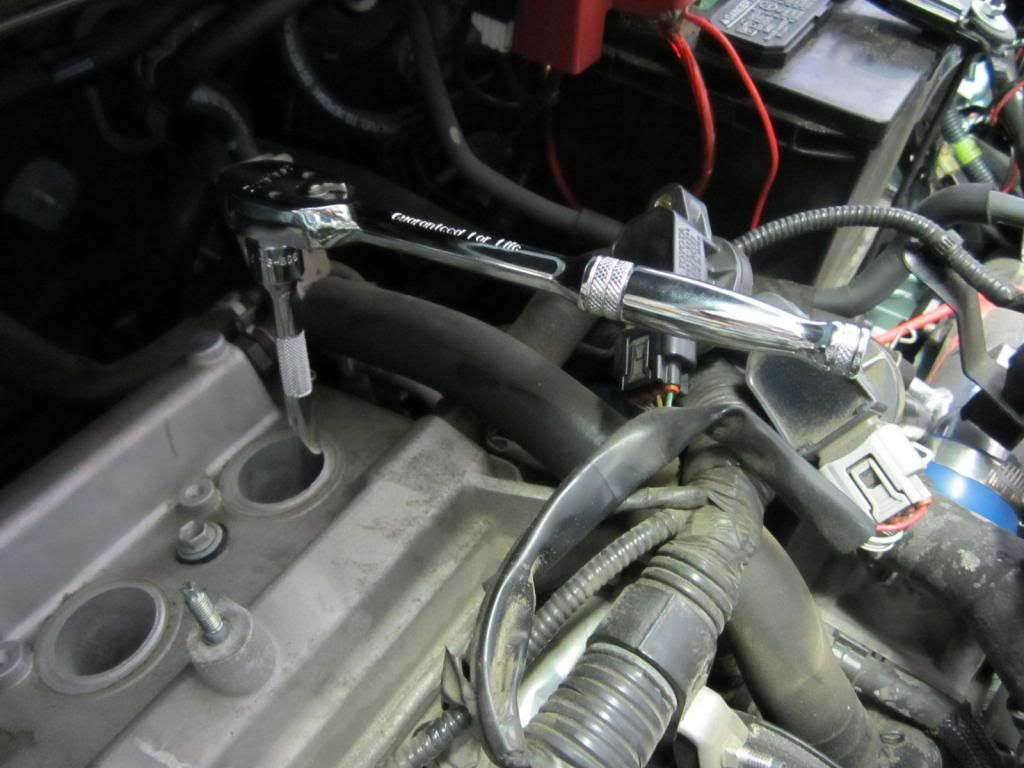
Now I'm good to go and loosen up the spark plugs. This is the wrench configuration that I used, it's simple to understand visually:
It's always good to just loosen one plug and check its condition as usually, its condition denotes all the other plugs conditions. So I started with the most right plug:
The spark plug socket that I'm using is magnetized, so the plug automatically comes out when its loosened. Although if yours isn't magnetized, then you can use the ignition coils to take out the plug after loosening it. Here's the used plugs condition:

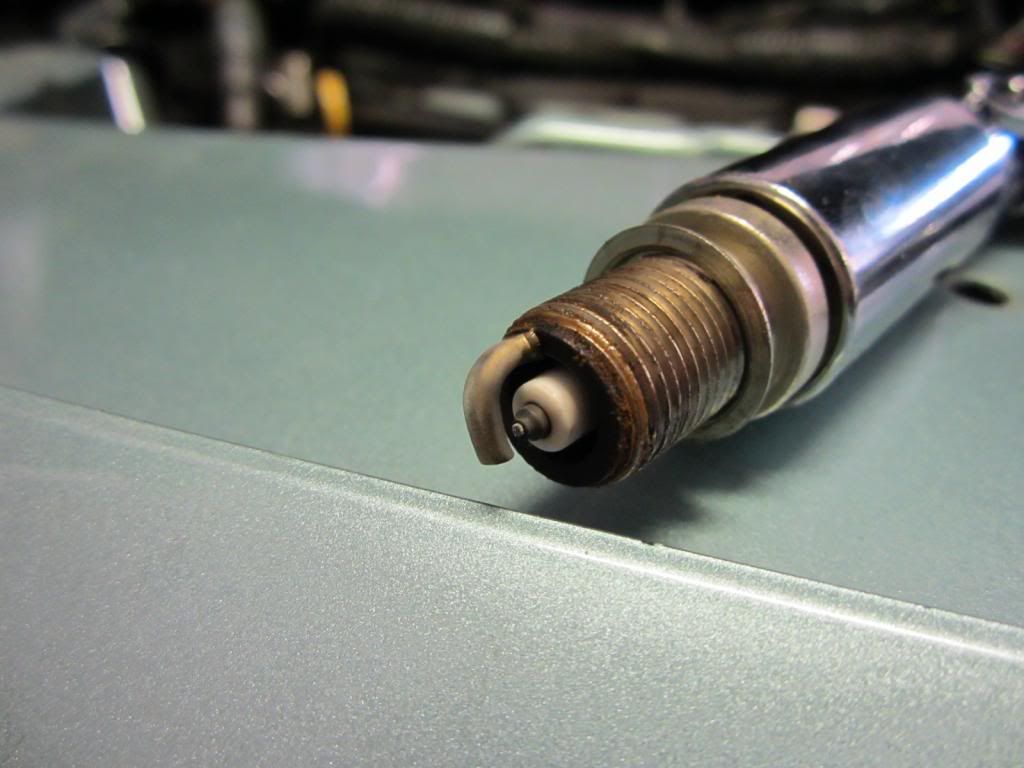
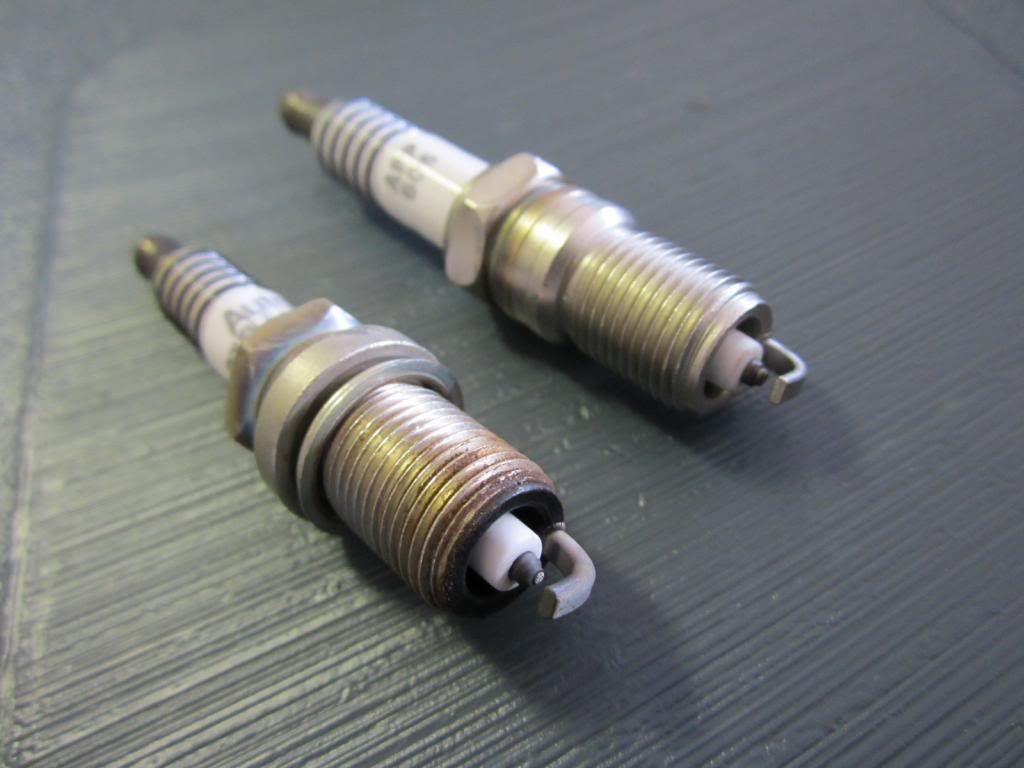
The plugs condition isn't that bad at all. When it shows a dryish brown color on the tip, it means that the fuel has been burning properly in the engine, nothing excessively rich or lean. But one should change spark plugs before their expiration for the safety of the engine. Here's the difference between a new plug:
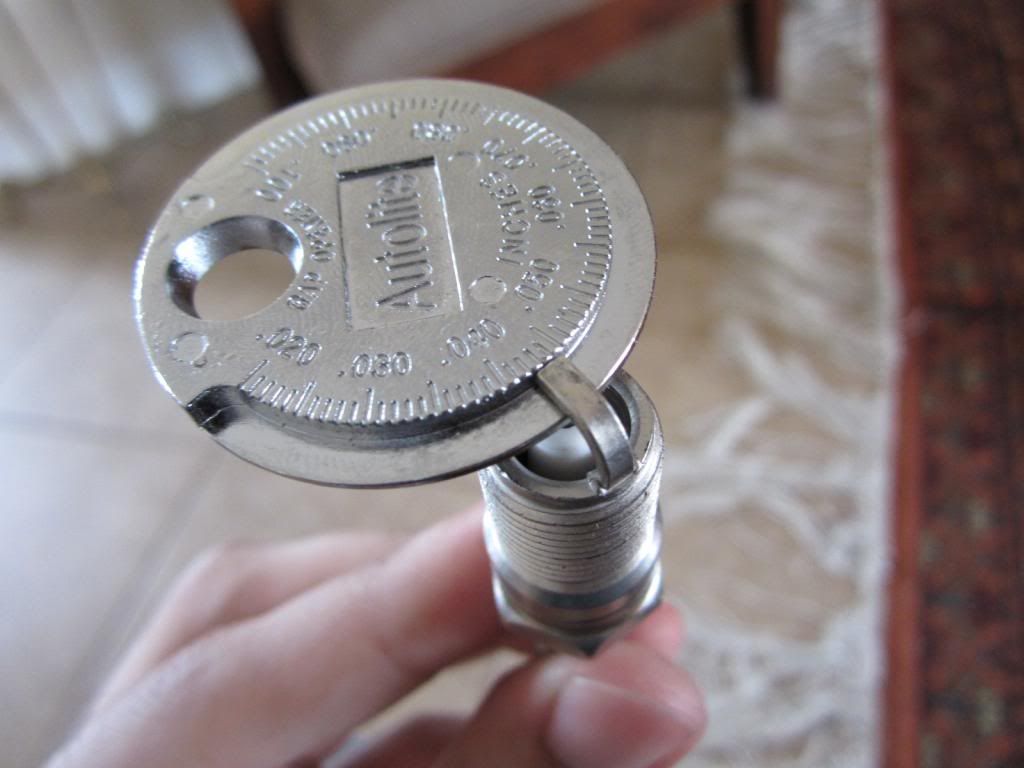
So now, one can take out all the plugs after initial inspection. After doing that, unless you have plugs from a company like Bosch, gapping the plug is necessary as it shows how strong a plug is able to ignition fuel in the combustion chamber. After inputting all the information of my vehicle over here, I got to know that these plugs require a gapping of 0.044:
Here's how they were gapped one by one:
Here are the new plugs after being all gapped up and ready to be installed:
When tightening the plugs, do make sure that they are just tightened slightly. I don't know the exact torque range, but over tightening them can cause huge problems, so that should be avoided. After that, always remember which ignition coil goes in what cylinder otherwise even that can screw up an engine. And that's pretty much about it. If you have any questions, do ask. Thanks for looking.
First of all the tools. What you see is a universal 3/8" wrench, spark plug socket, spark plug gapping tool, one 3/8" extender bar and one 10mm socket bar.
The plugs that I'll be using are the Double Platinum of Autolite:
And so lets get started, Here's the engine Bay:
First I removed the top that has four nuts using the wrench with the smaller 10mm socket bar:
By taking the top off, we can see every specific ignition coil (the black ones) going to each plug:
So I used the same configuration of the socket wrench of removing the ignition coils nuts that I used to take the top off. After taking it off all the silver nuts, I removed each coil with caution and placed them on a side:
Now I'm good to go and loosen up the spark plugs. This is the wrench configuration that I used, it's simple to understand visually:
It's always good to just loosen one plug and check its condition as usually, its condition denotes all the other plugs conditions. So I started with the most right plug:
The spark plug socket that I'm using is magnetized, so the plug automatically comes out when its loosened. Although if yours isn't magnetized, then you can use the ignition coils to take out the plug after loosening it. Here's the used plugs condition:
The plugs condition isn't that bad at all. When it shows a dryish brown color on the tip, it means that the fuel has been burning properly in the engine, nothing excessively rich or lean. But one should change spark plugs before their expiration for the safety of the engine. Here's the difference between a new plug:
So now, one can take out all the plugs after initial inspection. After doing that, unless you have plugs from a company like Bosch, gapping the plug is necessary as it shows how strong a plug is able to ignition fuel in the combustion chamber. After inputting all the information of my vehicle over here, I got to know that these plugs require a gapping of 0.044:
Here's how they were gapped one by one:
Here are the new plugs after being all gapped up and ready to be installed:
When tightening the plugs, do make sure that they are just tightened slightly. I don't know the exact torque range, but over tightening them can cause huge problems, so that should be avoided. After that, always remember which ignition coil goes in what cylinder otherwise even that can screw up an engine. And that's pretty much about it. If you have any questions, do ask. Thanks for looking.
Last edited: